Assignments for course CSCi5607 at UMN with Prof. Stephen J. Guy.
HW1 - Graphics warmup, HW2 - Image Processing, HW3 - Ray tracing, HW0.5 - OpenGL startup, HW4 - 3D Game.
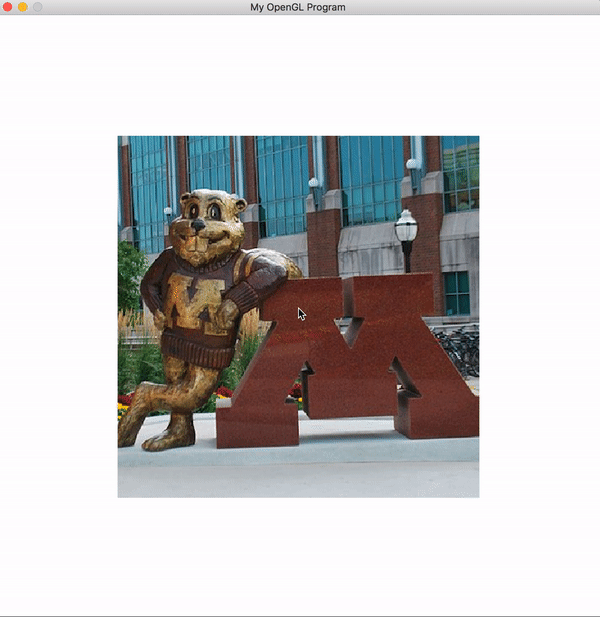
HW4 - 3D Game
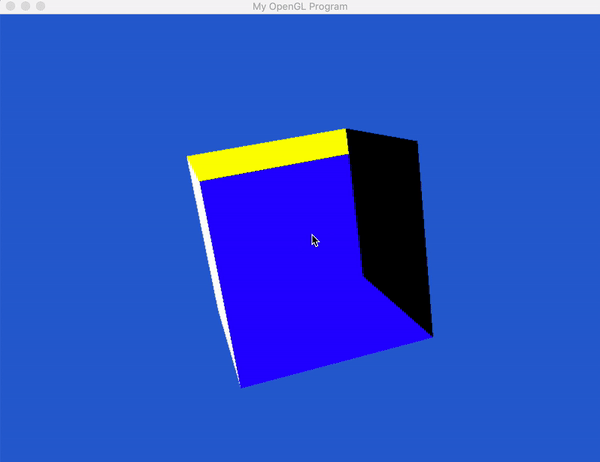
- Walls & Doors: Each map element type must have a unique rendering. Walls must look different than doors, and each of the five doors must look different than each other.
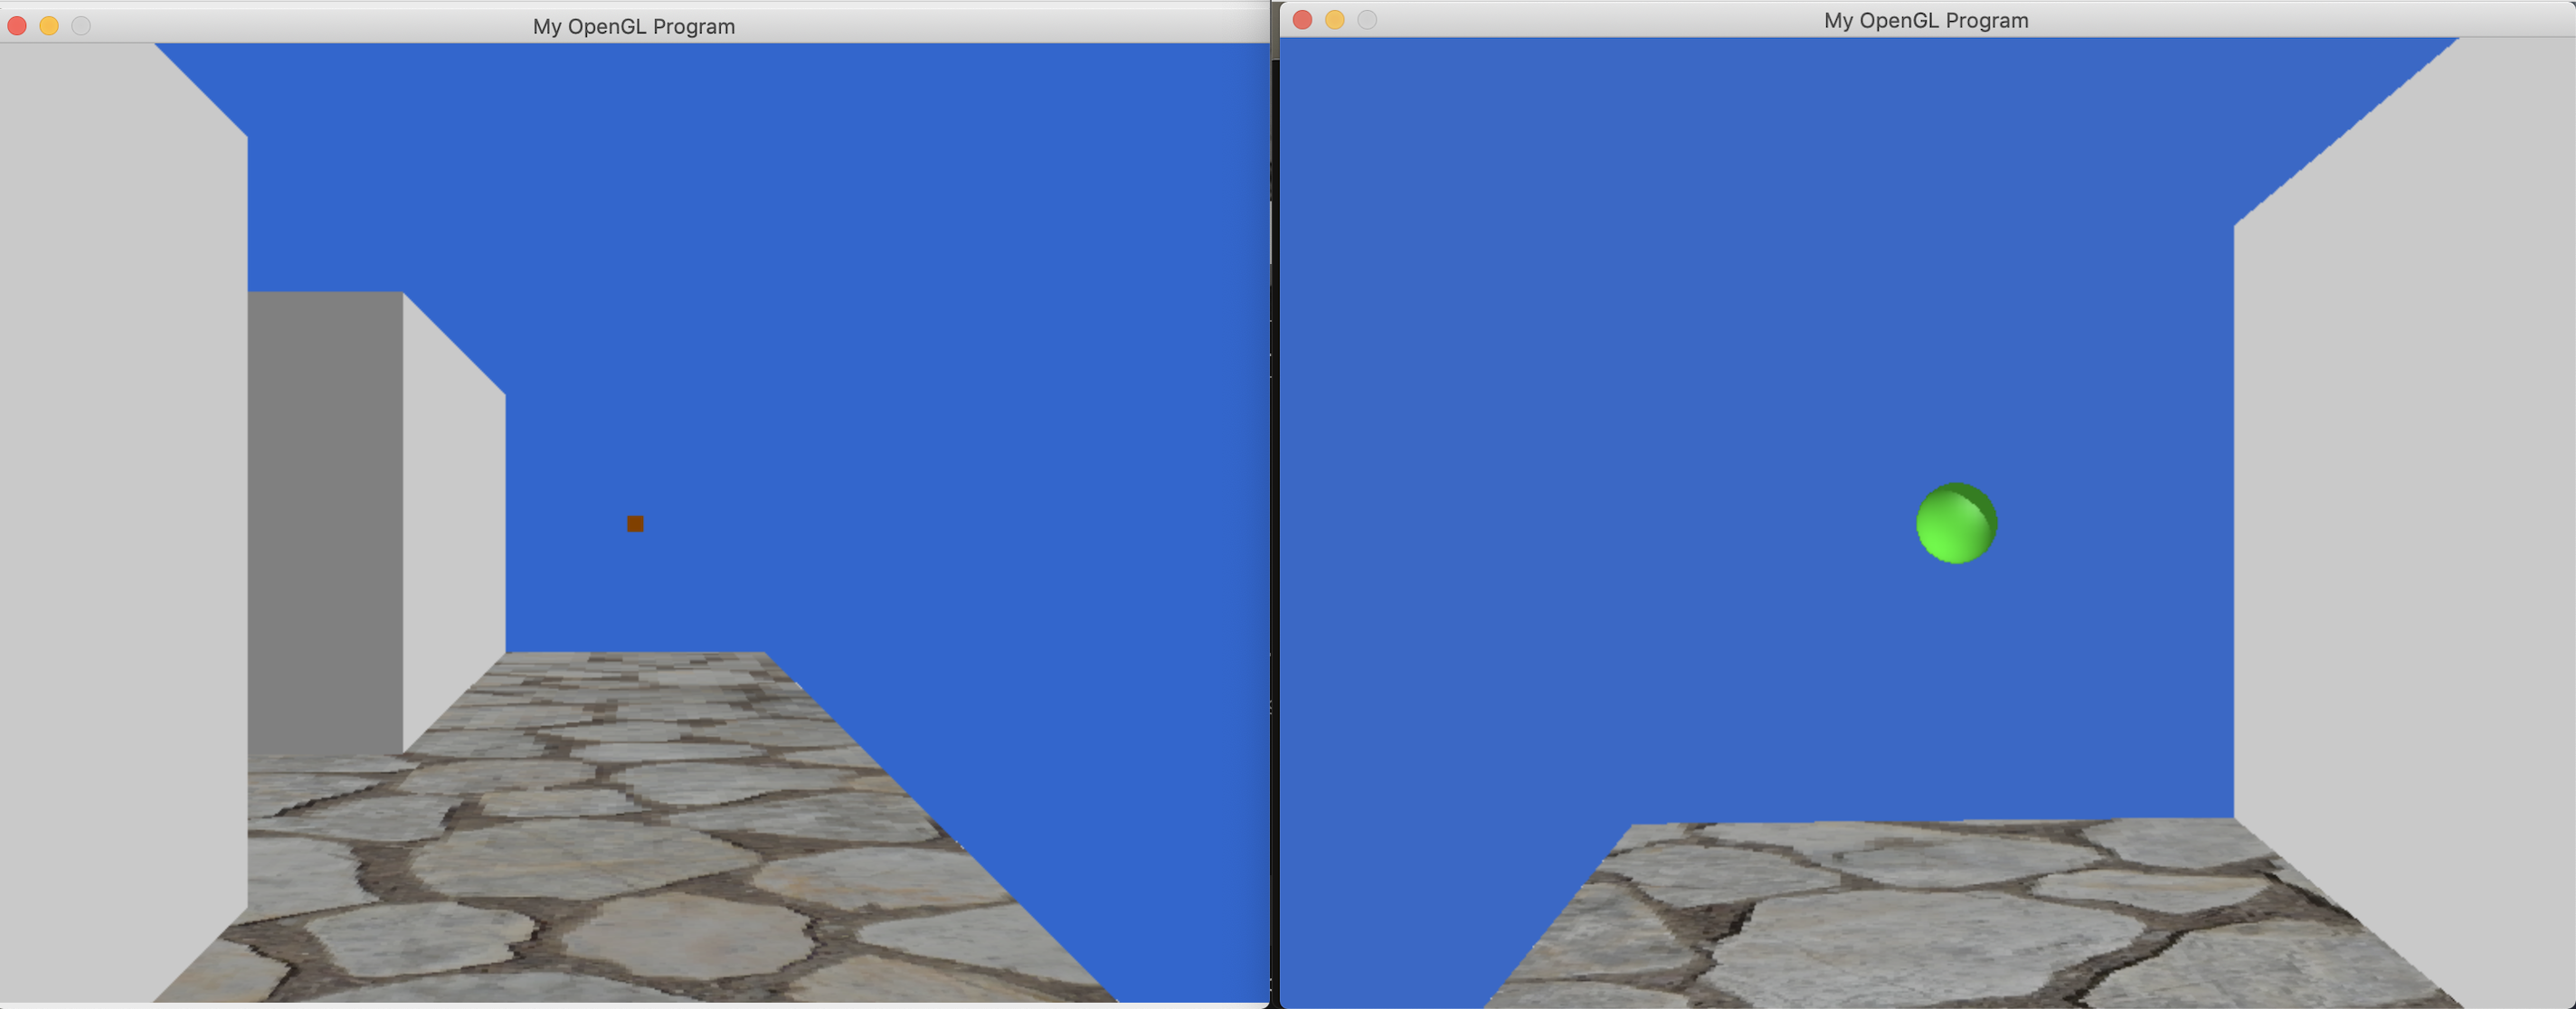
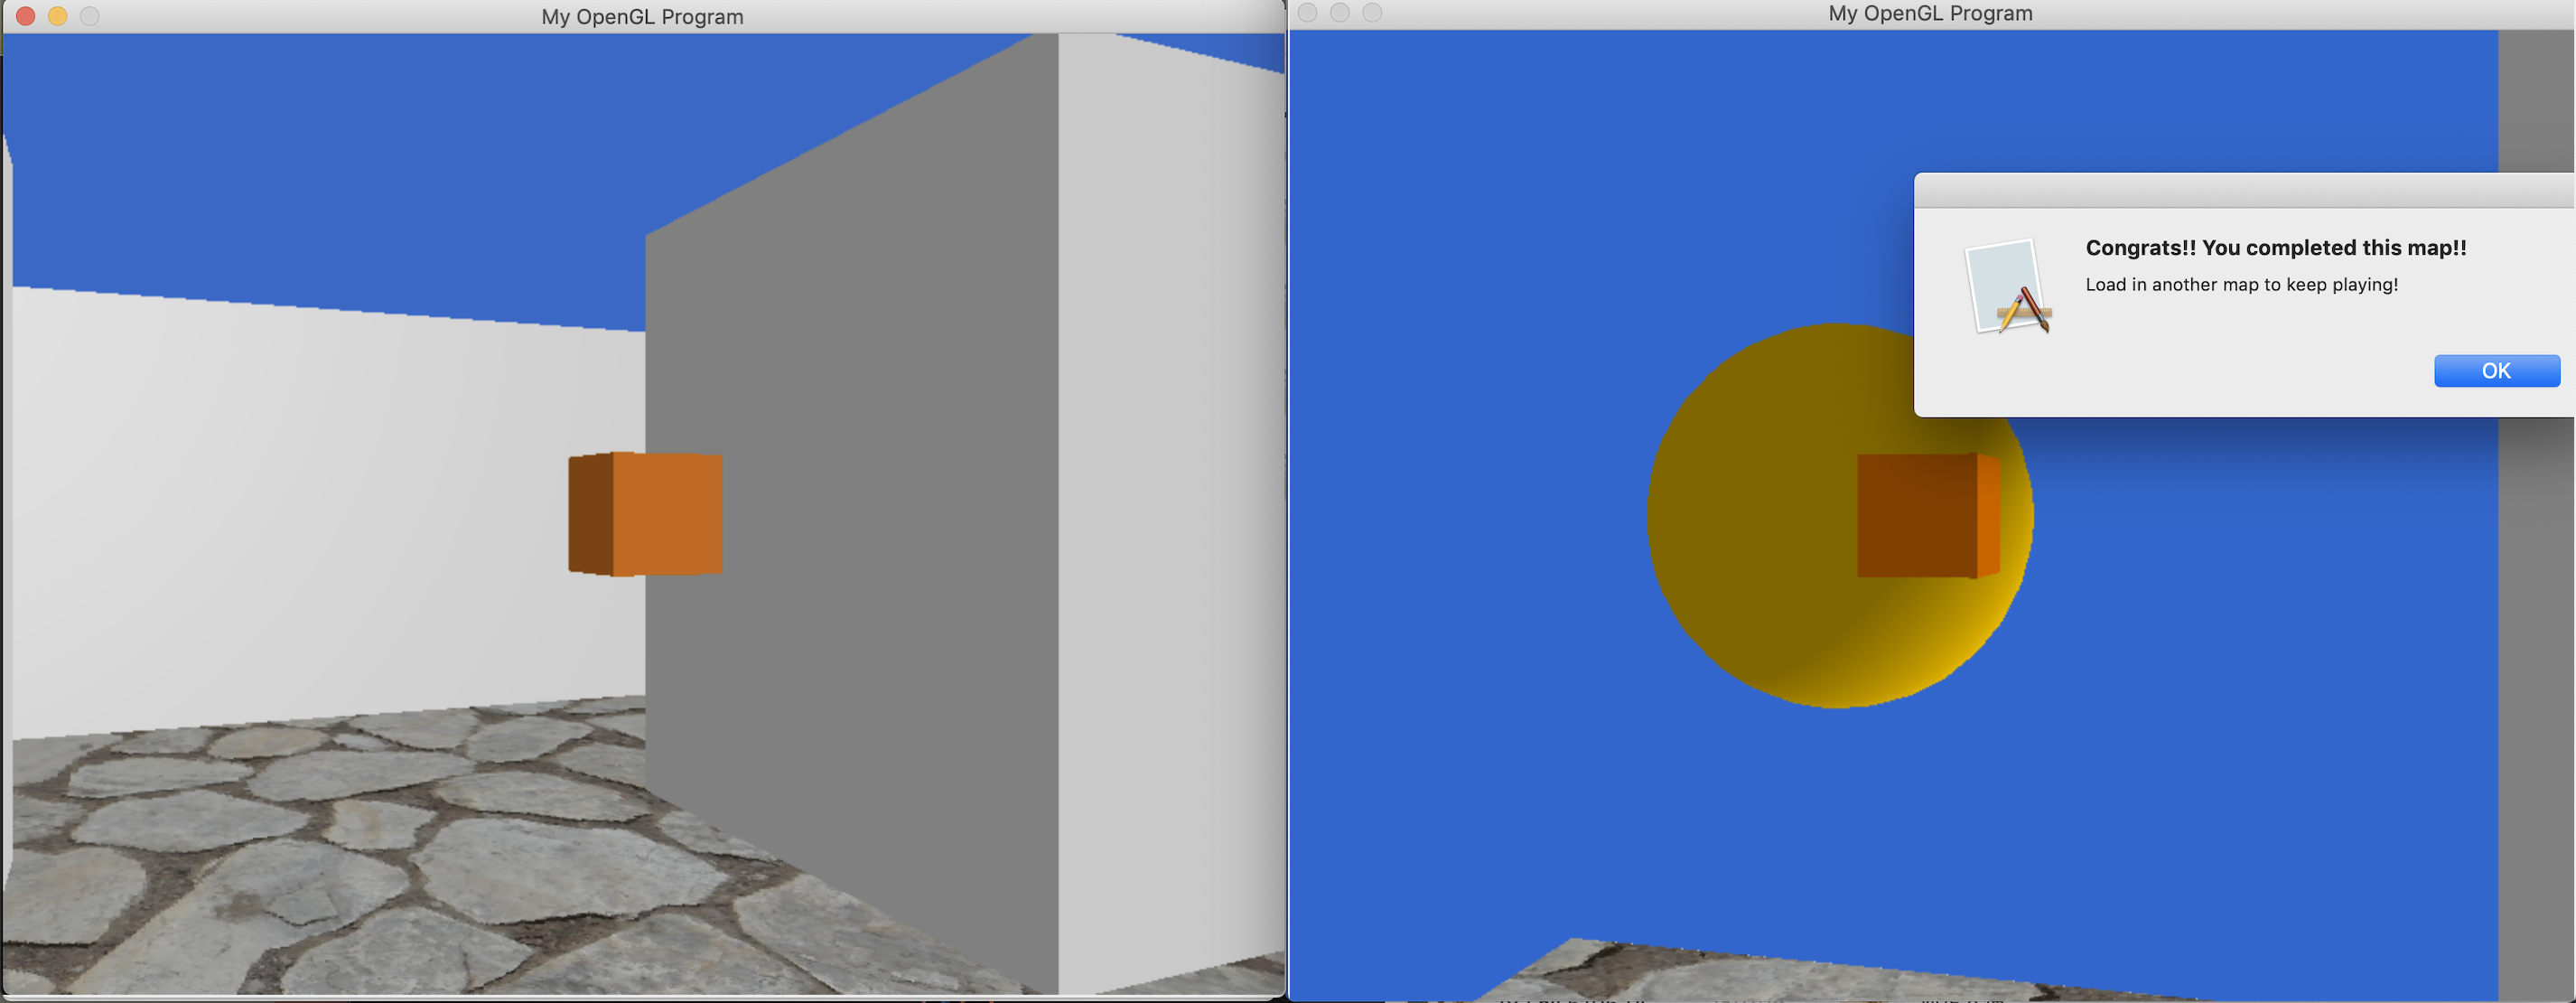
Keys: Each key must be rendered as a physical object (e.g., a cube, teapot, or key model). Whenever a player moves the key must be rendered in front of them moving with the character.
User Input: Users must be able to move around the map with mouse or keyboard input. One easy solution is to rotate with the left and right keys and move forward and back with the up and down keys.
Collision Detection: Users must not be able to move through walls or locked doors.
Floors & Ceilings: Floors must be rendered, the ceiling is optional.
Lighting: Your scene must have some ambient and diffuse lighting.
obtaining the key finding the door
- Texture map the walls and floors

Integrated keyboard and mouse control (must support strafing/sidestepping)
Up/Down key to step forward/backward
Left/Right for direction: turn left/right
‘A’ to grab objects(key)Add characters to the environment which move on their own (perhaps chase the user slowly). These characters should not move through walls.

Enemy is a Black and white plaid sphere, that move back and forth, game over when the player is attacked by the enemy.
- Character interaction: Allow the user to freeze or shoot the other characters at a distance (you cannot freeze or shoot through walls!). press SPACE to strafe the enemy in a distance (with white sphere bullet) or use direction key for sidestepping
- Animate the process of doors opening after they are unlocked.

- Use models to represent the user, keys, doors, non-player characters etc. Extra points if you create these yourself (e.g., with http://www.wings3d.com/).
- Load models in the OBJ 3d models format.
see model/mykey.txt which is transformed from an obj model built with wings3d.

the colorful sphere is the goal
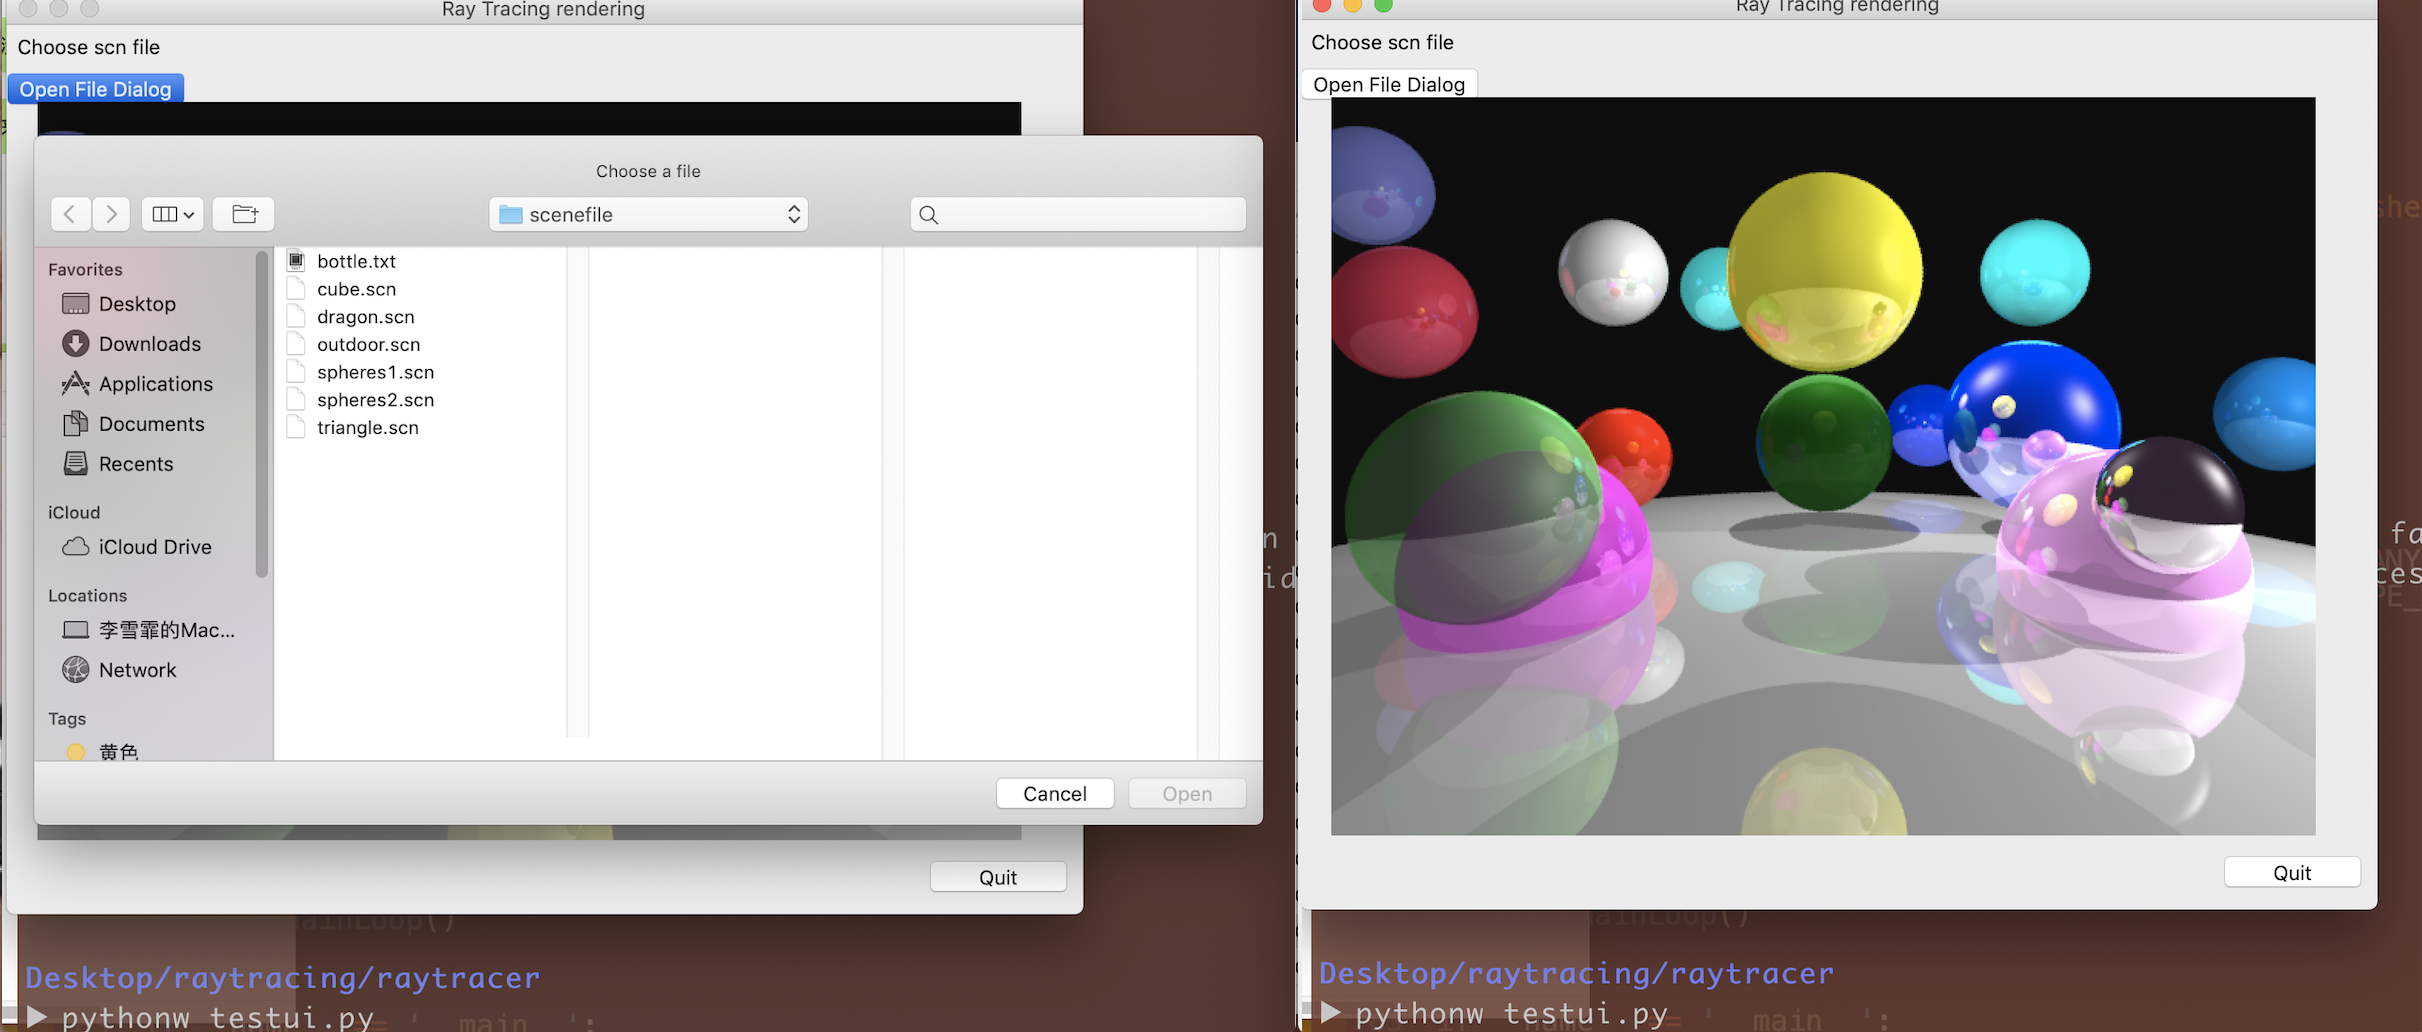
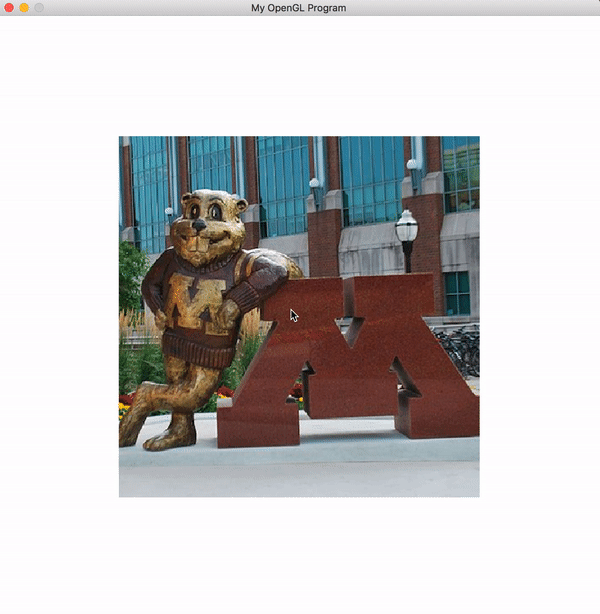
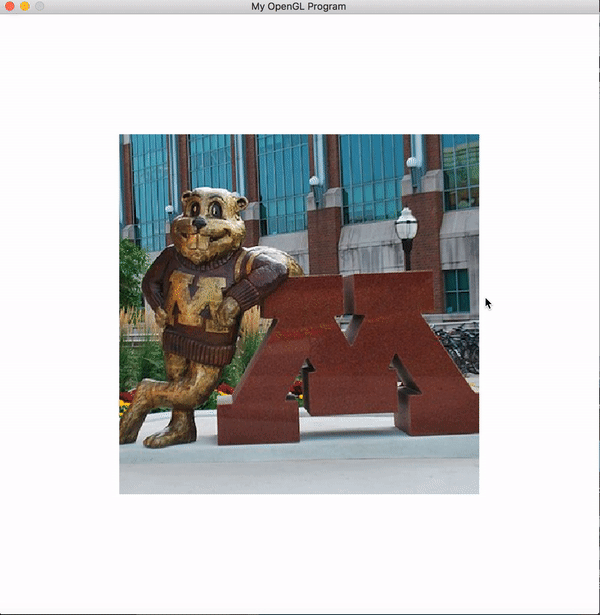
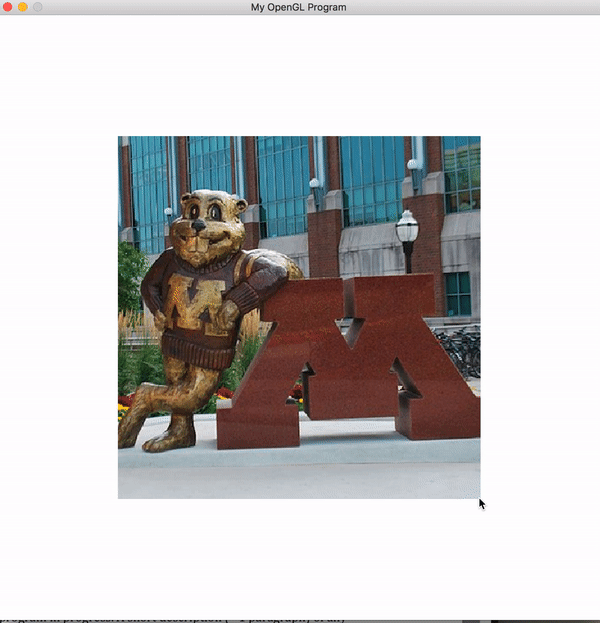
HW0.5 - OpenGL startup
- SDL_CreateWindow
- We made use of a depth buffer to prevent faces rendering to the front while they’re behind other faces. When depth testing is enabled. OpenGL tests the depth value of a fragment against the content of the depth buffer. OpenGL performs a depth test and if this test passes, the depth buffer is updated with the new depth value. If depth test falls, the fragment is discarded.
 )
)
pressing up/down on the keyboard
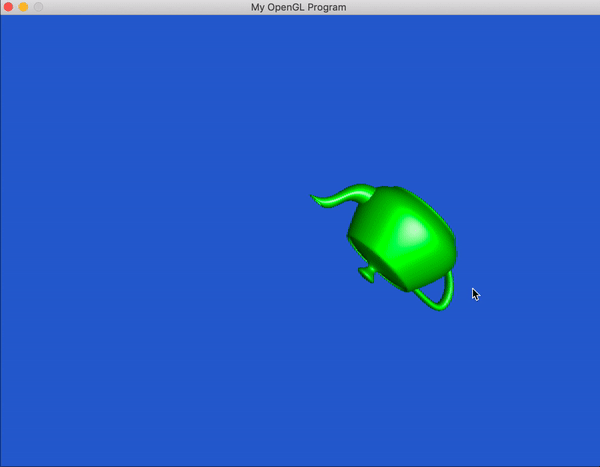
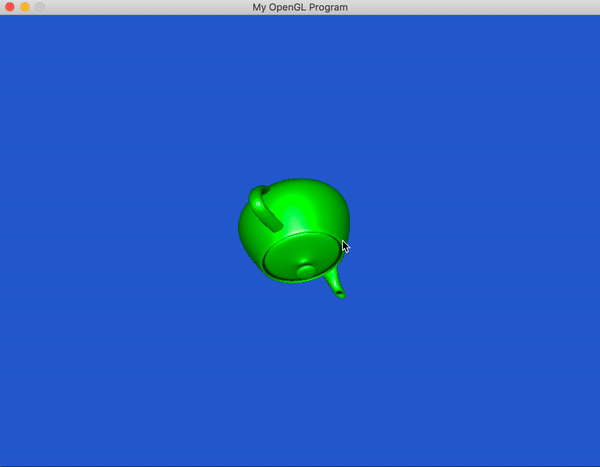
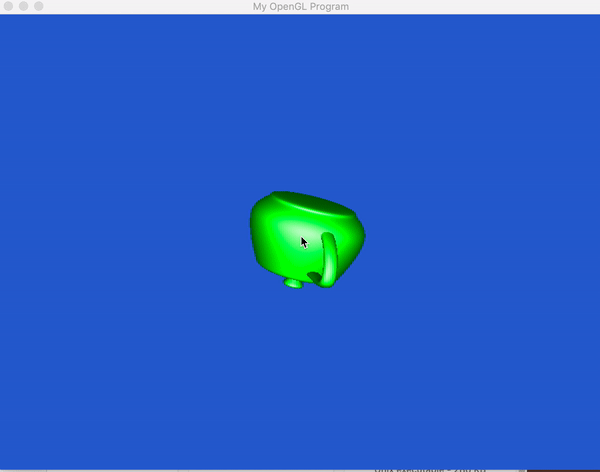
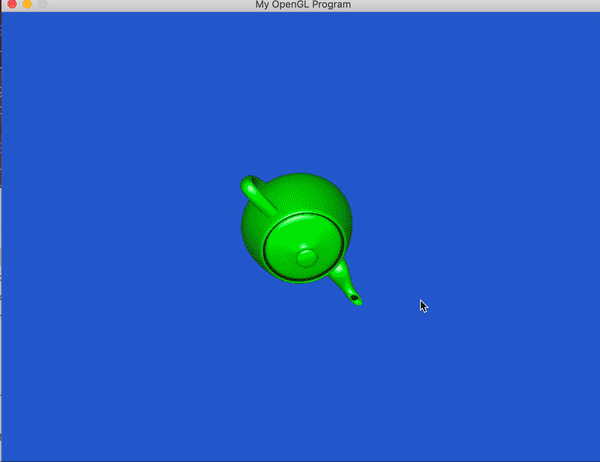
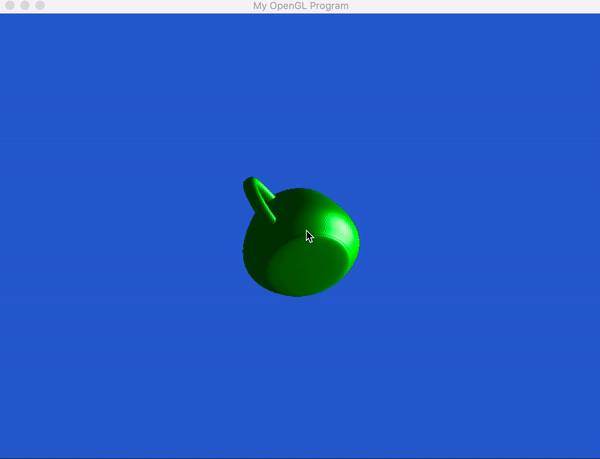
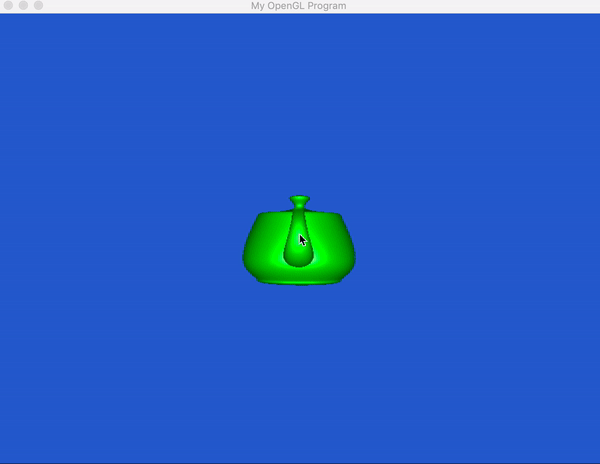
Teapot rendering, Phong lighting model
- translate the model by pressing up/down/right/left on the keyboard, speed up the rotation by pressing “R”.
 )
)
- Blinn–Phong reflection model, brighter
- press ‘c’ to change color randomly
- press “L“ to rotate the direction of light
- Use a point light located at (-1.5, 0, 0).
- gouraud rendering, hardly any rendering quality loss, and it is faster
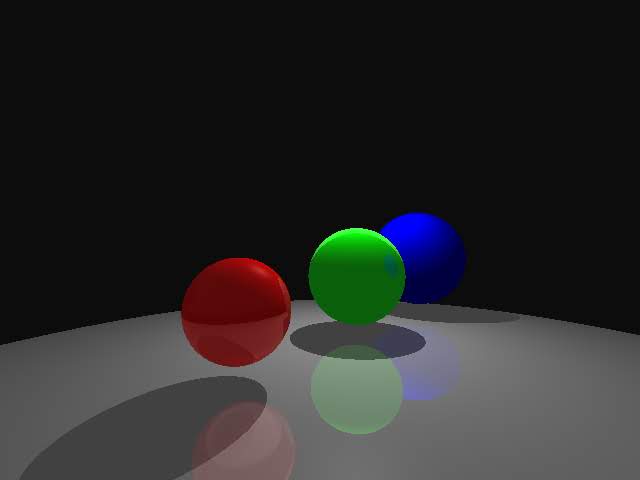
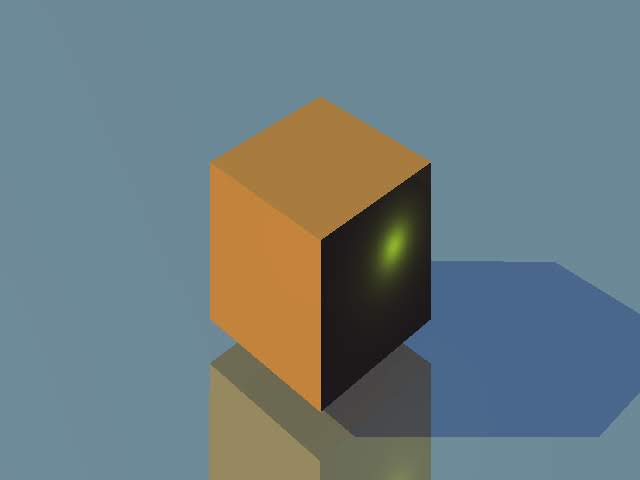
HW3 - Ray tracing
- Basic features:
Arbitrary camera placement, film resolution, and aspect ratio
Arbitrary scenes with spheres, triangles (possible with vertex normals), and arbitrary background colors
Color & Specularity (Phong Lighting Model)
Arbitrary materials, including diffuse and specular shading, reflections, and refractions
Ambient lighting, Point and directional lights
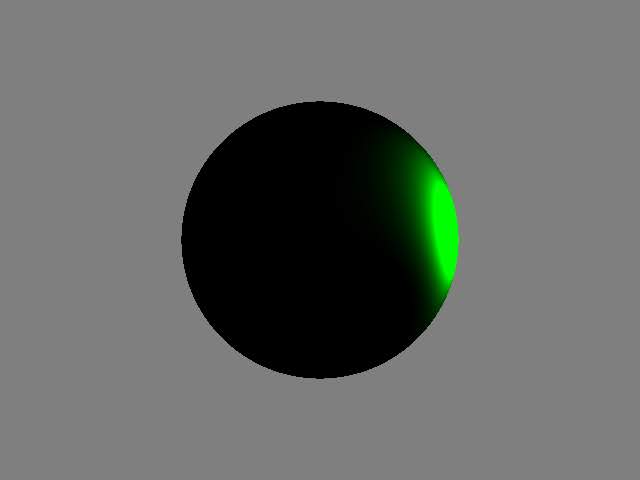
Shadows
Recursion to a bounded depth
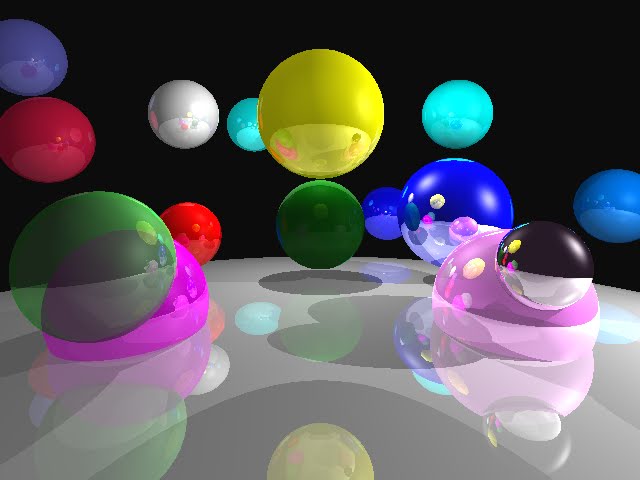
Difference/Intersection of spheres (Constructive Solid Geometry)
Triangles
BMP or PNG output
 )
) )!
)! )
) )
)
- Additional features:
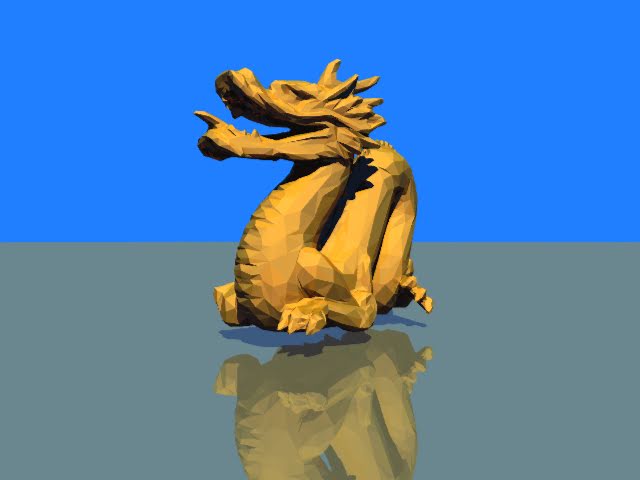
An acceleration structure: Bounding Volume Hierarchy (BVH).
See aabb.h, put sphere and triangle objects into box(aabb), intersect with the object when the box is hit by the ray. Then build a bvh tree, see bvhnode.h.
result from no bvh to using bvh. Use line331 in main.cpp and instead of line330, then rebuild the project.
-pic (a): 3s -> 7s
-pic (b): 6s -> 18s
-pic (c): 4s -> 4s
-pic (d): approximately 1h -> 178s
We can see that in a simple scene with a few objects, especially evenly distributed scene, bvh structure work worse. Because it spend more time building the hierarchy structure. However, in a complex scene like the dragon, bvh structure is much more efficient.Parallelize the raytracer with OpenMP
Include omp.h, see line 336 in main.cpp. , #pragma omp parallel for. Time for rendering pic(d) is reduced to 47s.Jittered supersampling
See line 340 main.cpp, multiple samples per pixel, adding random noise each sample.
sn is the number of samples per pixel. sn=1 denotes uniform supersampling. Image becomes smoother when sn is bigger, but it may overkill simple area of the image; also, it will multiply the time.User interface that shows the raytraced image being updated
implemeneted in testui.py. Run python testui.py on command line after building the raytracer execuatble.
- Boxes and Planes
HW2 - Image Processing
- Contrast: Change the contrast and saturation: Change the saturation of an image by factor 0.7, 1.1, 1.4.

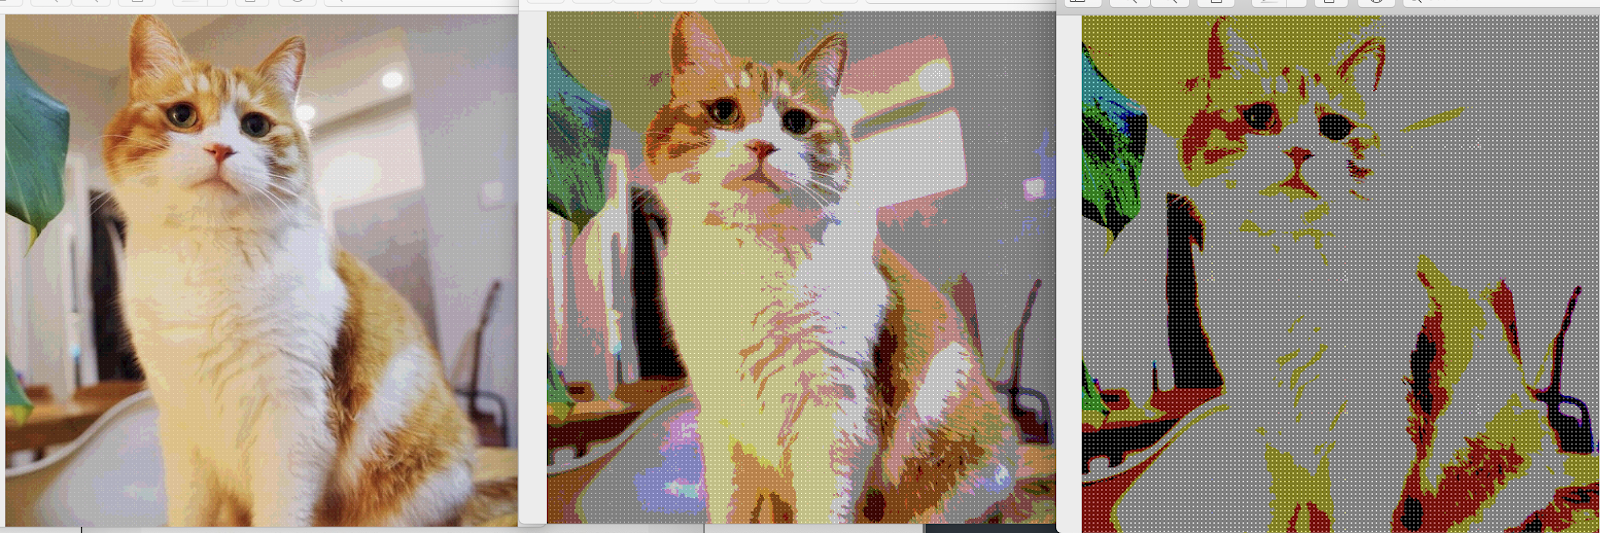
- Quantize: Change the number of bits per channel of an image, using simple rounding, nbits=6, 4, 2.
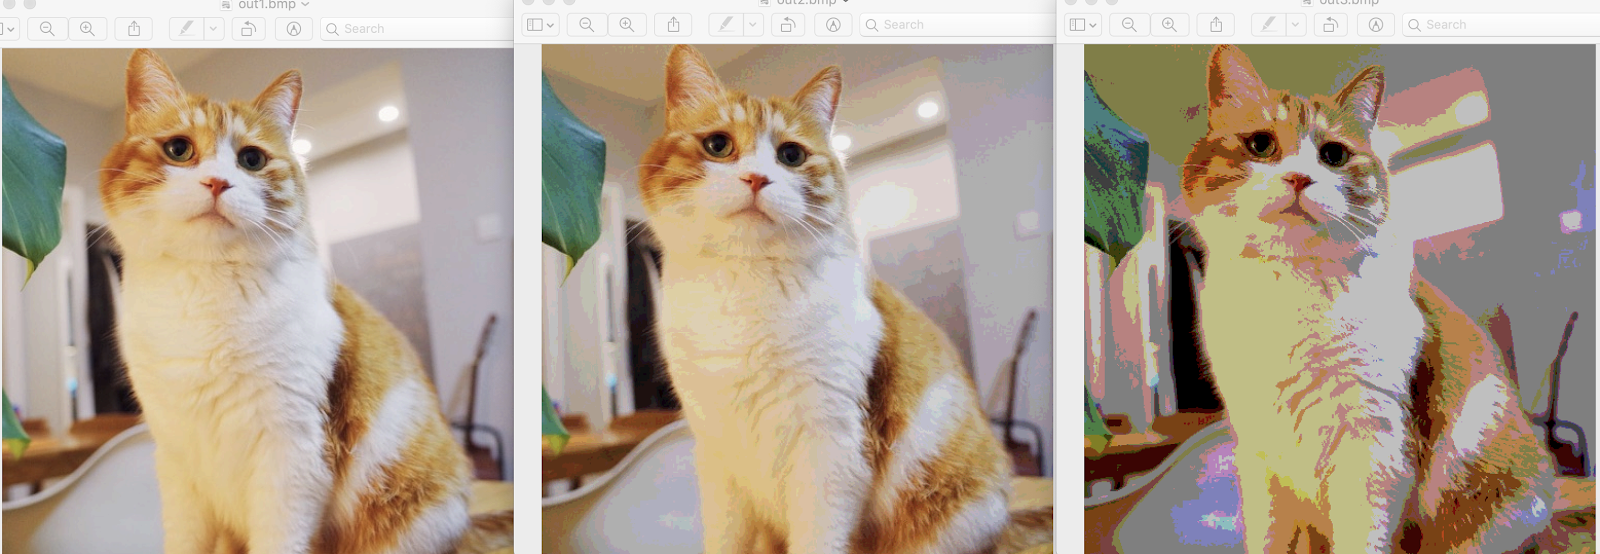
- Random dither: Convert an image to a given number of bits per channel, using a randomized threshold, nbits=4, 2, 1.
Floyd-Steinberg dither: Convert an image to a given number of bits per channel, using dithering with error diffusion, nbits=4, 2, 1.
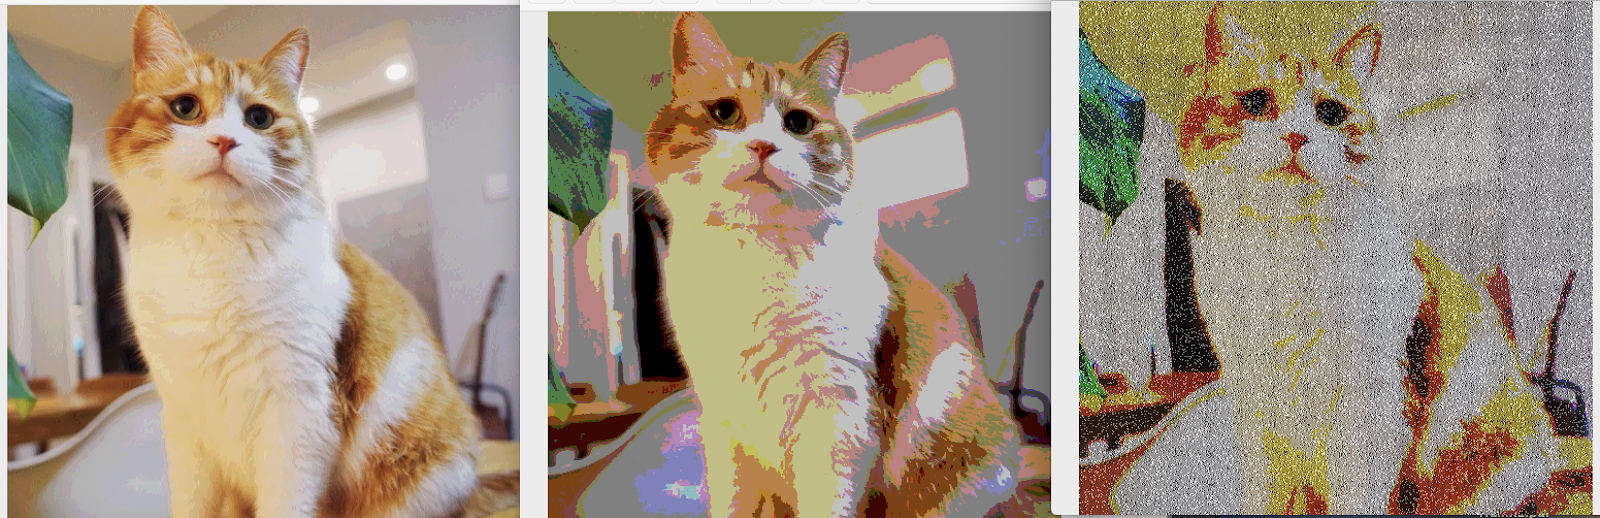
Ordered dither: Convert an image to a given number of bits per channel, nbits=4, 2, 1.
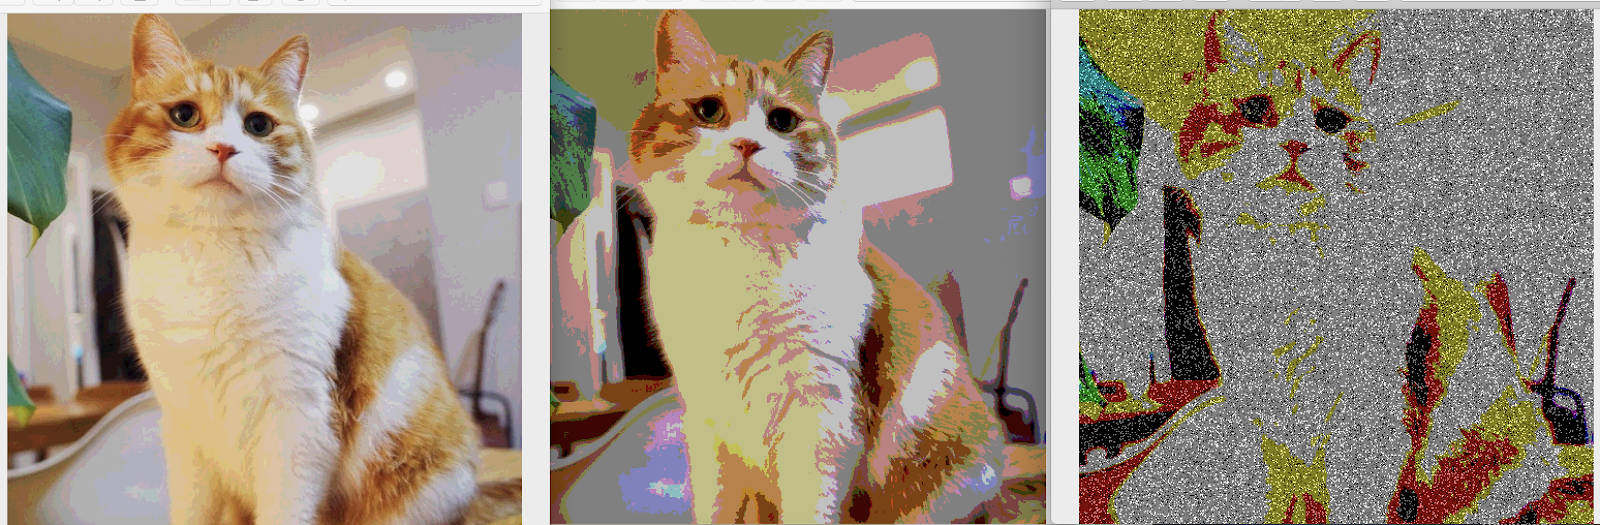
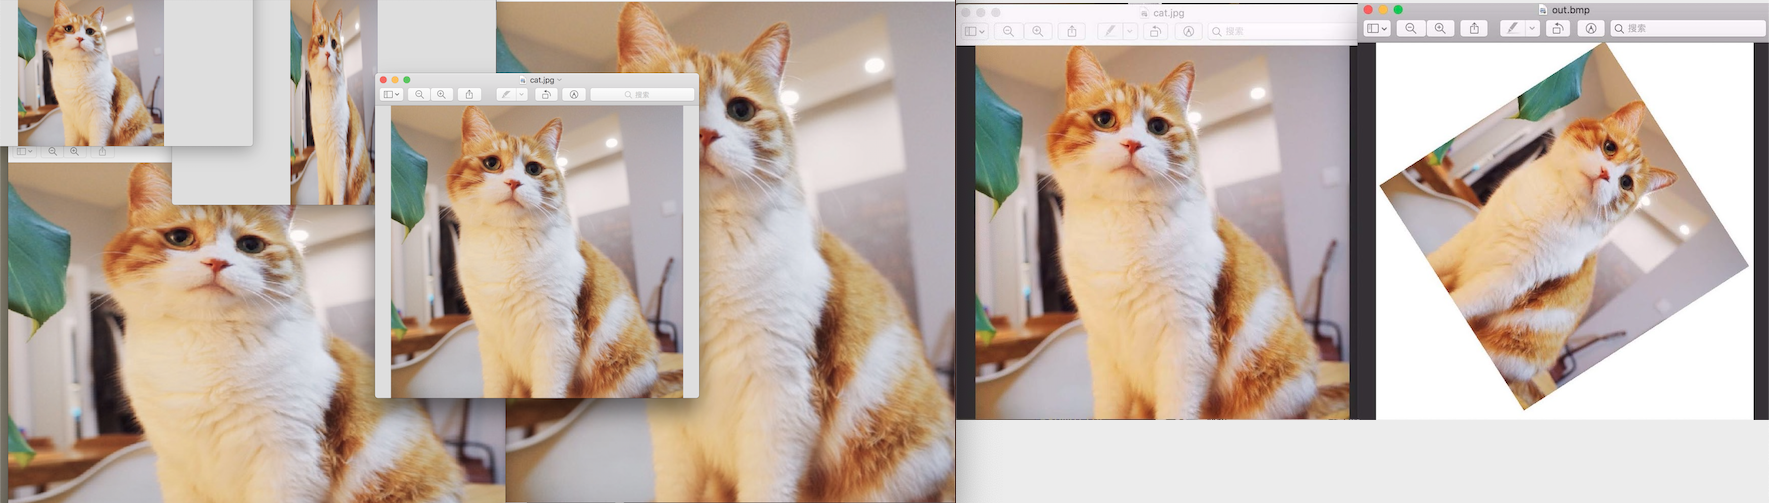
Scale: Scale an image up or down in size by a real valued factor with inverse wrapping, and rotate
using point sampling, bilinear sampling, and Gaussian sampling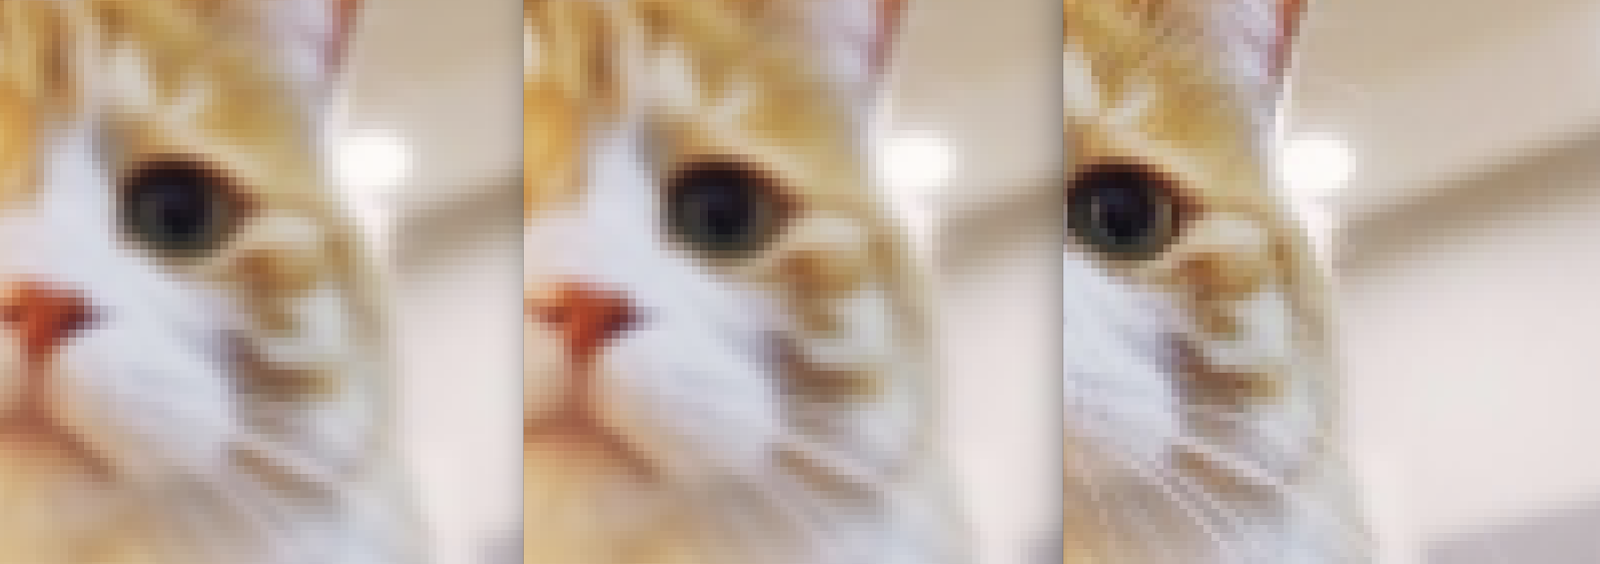
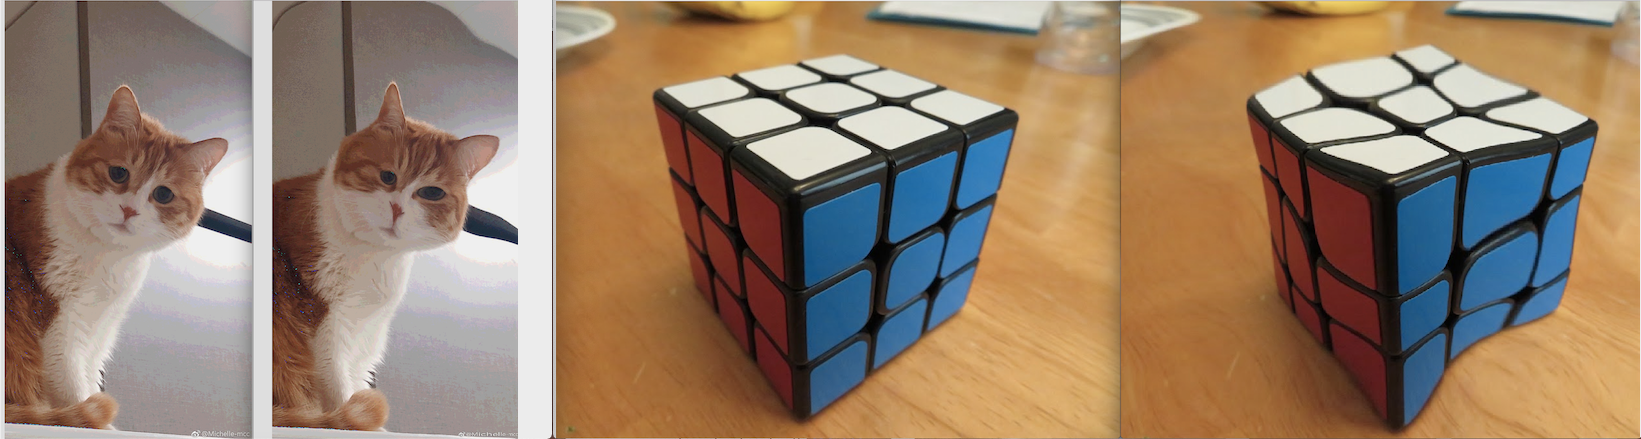
Additional: Warp an image using a non-linear mapping
HW1 - Graphics Warmup
 )
) )
) )
)